Monday, June 19, 2023

Mixed Media Juneteenth


 I have taken a topical approach today with my card dedicated to Juneteenth, the federal holiday in the US to commemorate the release of African American slaves which happened on June 19th, 1865.

I used a mixed media technique and used an image and words from Tamara Laporte's 'Fabulous Faces' pack to create this piece.

I created the background on watercolor paper. I then changed the tones of the background using some white gesso. I decoupaged strips of sentiments torn from the sentiment sheet and then the image that comes printed on tissue paper with some Distress Collage Medium. Finally, I stenciled on the bricks with some texture paste and added the Shine sentiment.  

Head on over to Art Stacks to see all of the gorgeous faces and images in this stunning pack!

Thursday, March 23, 2023

Thanks - Contemporary Vine Floral


 It is with a heavy heart that I say goodbye to Pat and the rest of the design team over at Technique Junkies.  This will be my last publication.  It's time for me to move on to other adventures! Many thanks to Pat Huntoon for having me this past year, it's been awesome! Many thanks to our subscribers and customers who have supported us!

I have created a process video for this thank you card using the Contemporary Vine Floral stamp from the March release.  See video below.


Thursday, March 9, 2023

Jet Fuel!


For this card I used some pattern paper along with the Coffee to Go and Jet Fuel stamps along with some ephemera from my stash. Such a fun and easy card! Join me live tonight on my YouTube Channel and we will create a similar card!


Wednesday, March 1, 2023

Technique Junkies March 2023 Stamp Release


All dressed up for Spring, the new release for March 2023 from Technique Junkies offers a great variety of fun, funny, and fundamental stamps! Grab the latest stamps and enjoy a 15% discount until March 8th. No discount code needed. Then, save 10% on everything else using my discount code TJ10Color.

Here are a couple of examples from the release.


Come hang out with me live Wednesday night for the release party on my YouTube channel at 6 EST! Be sure and stop along the way to all of the design team blogs!


Thursday, February 23, 2023

Said No Cat Ever

As soon as I saw these Curly Tailed Cats, I knew they would be the perfect pairing for the Dotted Blooms background stamp from a previous release.  On a white background I stamped the Dotted Blooms with some Catherine Pooler ink in the color Hot Tub, a nice sort of retro color.
Next, I stamped the Curly Tailed Cats with Versafine Clair in the color Nocturne and then tossed some clear embossing powder over the top and heat embossed them. The rest of the process can be seen in the video below!

Don't forget to save 10% using my discount code TJ10Color!


Friday, February 17, 2023

That Went a Different Direction!


This weeks Monday Challenge at Simon Says Stamps is "Frame It"

I had this bright idea that I would use some Hero Arts Nesting Frames on some Simon Says Stamp Shrink Plastic and create three cute frames and three cute banners. It started out really well!


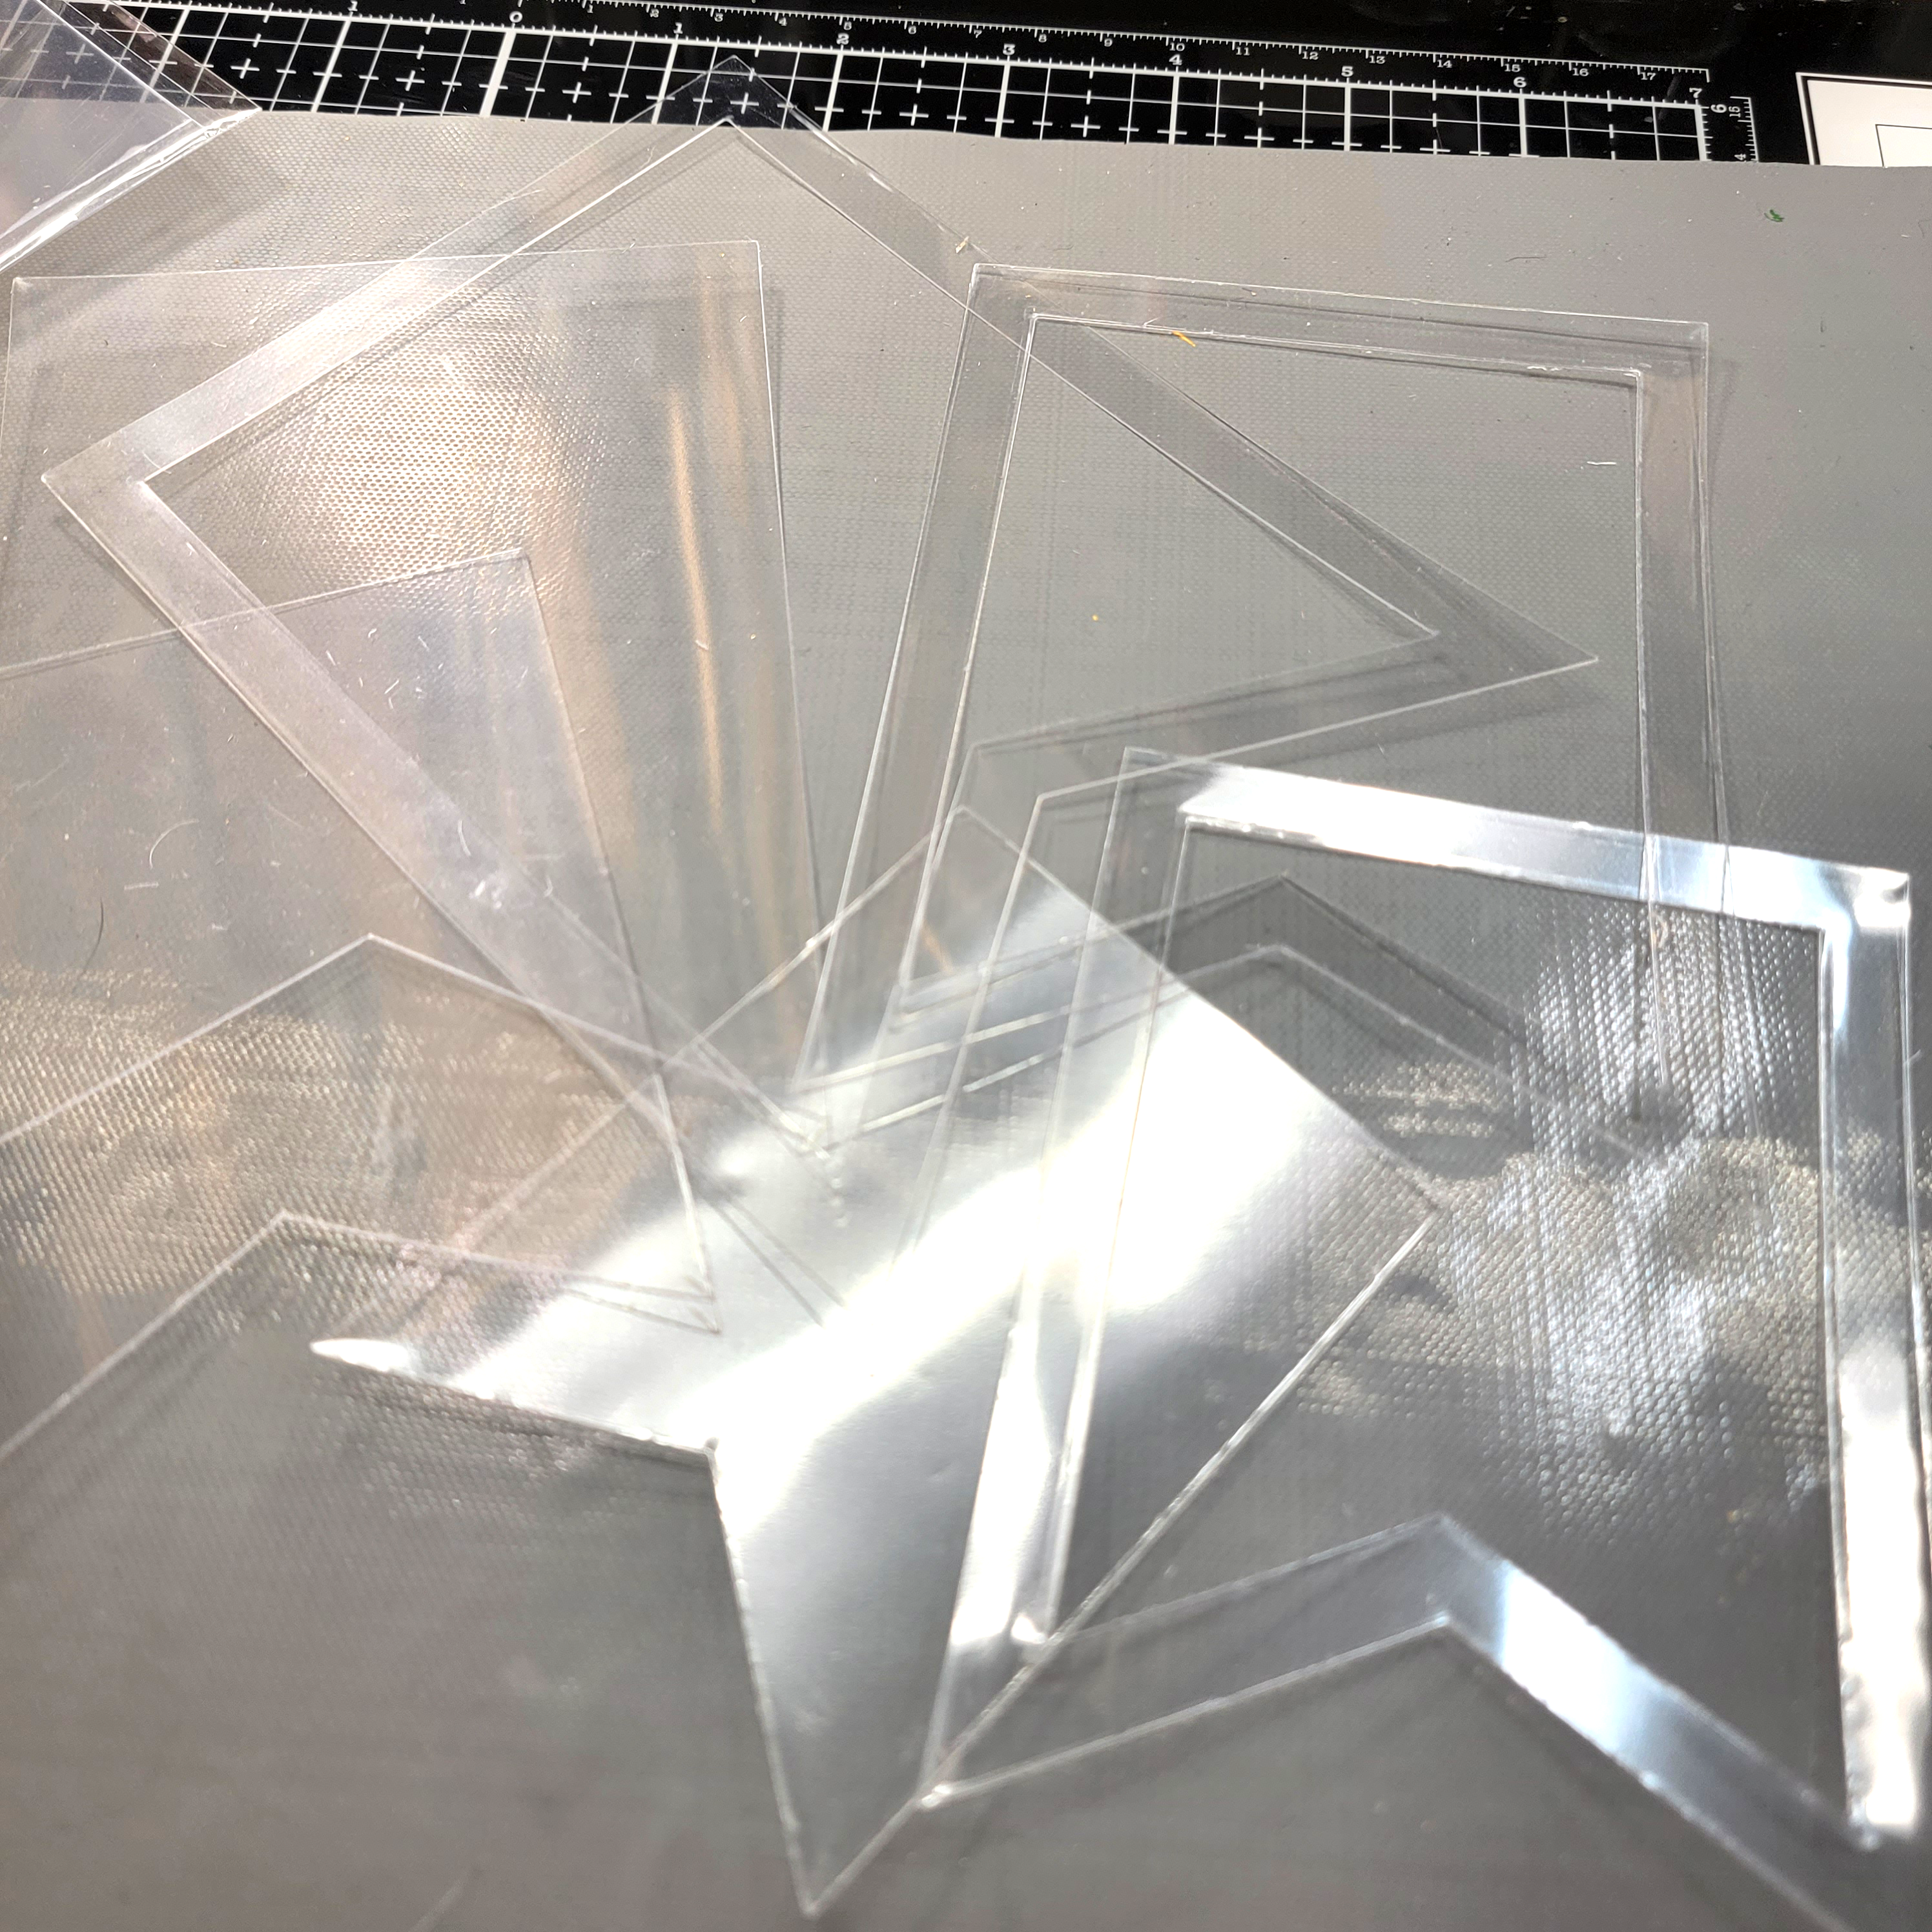
I had them all cut out and ready to stamp and color.

I decided I would background stamp them with one of my favorite sets from Tim Holtz and Stampers Anonymous called Flurry and Pine, CMS312 in case you were wondering. I think these stamps were meant for Christmas, but they are among my top 5 for background stamping. I digress. I got them all stamped with Stayz-On ink. Don't ask about the state of my hands right now.


Next, I was going to color them all with this combination of Tim Holtz and Ranger Alcohol Ink.


Here they are all colored and ready to shrink. That's when it all went wrong! Two of the three frames completely mangled themselves beyond recognition. I couldn't understand why they would want to do that, but now I was down to one frame and he was rather wavy. I went ahead and continued with the shrinking process since I had committed to my project.

I moved the salvageable parts around and around on different backgrounds, but felt bad for leaving out the poor mangled plastic frames. That's when it hit me. I decided that instead of making a card, I would actually make some home decor and here is where we landed.


I decided to be the bigger woman and include the mangled frames because they were still beautiful in my heart.


Look how they float gracefully about the landscape! The flatter ones I attached with some black attach thingies.  I sewed on all of the wobblies.


I made several frames out of some black cardstock with the last frame done with Tim Holtz Black Heavy Stock. I matted those with a turquois background borne from my Gel Press and nailed it all down to a box that I painted black with Black Soot Distress Paint and that was that. 
Thanks for checking her out!


Saturday, February 11, 2023

Simon Says Stamp Monday Challenge - Love is in the Air!


I decided I had time to enter into another Monday Challenge with Simon Says Stamp.

Let me take you through the process of this easy card! I decided to go "punny" with this one with the wild mushrooms cut from Tim Holtz Funky Toadstools 665216 and some heavy white cardstock.  I colored them with Distress Oxides in Spun Sugar, Kitsch Flamingo, Picked Raspberry, Lumberjack and Plaid for the tops and Lost Shadow, Tea Dye, and Hickory Smoke for the stems.


Once I had them all cut out and glued together it was time to decide on an arrangement on the card panel.

I decided I liked the corner arrangement and that the best pun would be this Wild About You from CZ Design.  I love Cathy's work!


I cut both parts out of heavy white paper then colored the shadow layer with the Lumberjack Plaid.


And now it was time to put it all together! First I glued down the mushrooms then popped my sentiment up with some foam tape and glued it all down to a Schoolhouse Red card base.


I added three little hearts that I had cut from Tim Holtz Falling Hearts 664415 and my "punny" card was done!

Thanks so much for stopping by and have a Happy Valentine's Day!

xoxo T


Thursday, February 9, 2023


I thought I would make a card this morning featuring Hero Arts products! I started out with the Hero Arts HD120 Papillons Digital Kit which includes a set of Photoshop Brush files.  I created a new document in Photoshop and "painted" the 3 butterflies in a 5 1/2 by 4 1/4 space. I then copied the layer for a total of 4 sets of 3 butterflies then printed them out on some 65lb Hammermill paper through my Canon Laser printer. 

I cut the 8 1/2 x 11 sheet into the four 5 1/2 by 4 1/4 sheets and foiled each sheet with the two blue and one green toner foils. 

On the bottom sheet I stamped the background with one of my favorite background stamps of all time, Hero Arts CG880 Calligraphy Bold Prints with some Ranger Wendy Vecchi Archival ink in the color Forget-Me Not.  I then ink blended over it with some Simon Hurley Minty Fresh ink.

In the second foiled print, I used some markers to color in the butterflies then I fussy cut them out and glued just the bodies to the background leaving the wings free.  

I stamped the sentiments from the Hero Arts CM619 Art Journal Messages onto some heavy white cardstock with Versafine Clair ink in the color Warm Breeze then poured clear embossing powder over them and heat embossed to a shiny gloss.  I fussy cut them out and placed them on the card as you see then I edged the card with some Mermaid Lagoon Distress Ink. I then glued the whole thing down to a blue card base from my stash (I *think* it's some 110lb Recollections.) And my card was done.

I am having a lot of fun with these digital files from Hero Arts and I cannot wait to see what comes next!

P.S. The underlined links are my affiliate links. It doesn't cost you anything extra to shop from them, but might earn me a dime or two. I am saving up for eggs donchano!

Love T

Luck of the Irish


Who doesn't need an Irish Blessing with St. Patrick's day around the corner! I used all of the lucky things for this card today. I started out with a 5 1/2x4 1/4 inch white card panel and stamped the Shamrocks  background stamp with a a green pigment ink and then poured clear embossing powder over it and embossed the shamrocks. I distressed the whole page using some brown and tan colored inks and then splattered some gold randomly and set aside.

On another panel I stamped Nothing But Happiness and gave it the same treatment as the background then cut it out with a circle die. 

I strung up the wishbone and attached the card together.

Full process video below...


Wednesday, February 1, 2023

Technique Junkies February Release Party!

 Hi everyone! Please join me live tonight for the unboxing of the February Technique Junkies release.


Save 15% on the new stamp release through February 8! You can save 10% on everything else using my discount code TJ10Color or if you gotta have it all!
Here are a couple of examples.


Be sure to tune in to my YouTube channel live tonight at 7pm EST for a preview!
Make sure and hop on over to the rest of the design team blogs!


Here are the links to the stamps


Monday, January 30, 2023

Simon Says Stamp Monday Challenge - Caramel Cake with Chocolate Ganache


 Okay, I have the correct day and theme from Simon Says Stamp Monday Challenge Food and Drink. 

For this card I used 3 of the Everyday Die sets from Tim Holtz. Papercut Cafe 666287,Celebrate Colorize 666285, and Brushstroke Flowers Mini 666284 as well as the Alphanumeric Theory Set 665924 and then some backgrounds from my stash. The bottom was an ink blend that I foiled over and the top part was a roll off from my brayer while doing gel prints.  I probably have 1000 backgrounds laying around here and I need to quit making new ones!

Now I just want some tea and caramel cake with chocolate ganache frosting!

Bloom - Simon Says Stamp Monday Challenge


 Happy last Monday of January! Wow, it seems like January went in the blink of an eye. 

I thought I might change things up a bit and enter myself in the Simon Says Stamp Monday Challenge.

I started out by cutting all of the flowers on watercolor paper. I knew that I wanted to let my inner shabby chic come out for this project so I chose soft, light colors of Distress Oxide.  The white roses were colored with just the bottom layer a light hand with Antique Linen. I don't know about you, but I am secretly hoping that one of Tim Holtz's neutrals this year is an eggshell color! I know many of you would say how boring, but please understand the value of light pigment! I should be getting my Lost Shadow today and I am hoping to experiment with more white roses! I digress.  I used Tattered Rose and Spun Sugar for the pink flowers and used Bundled Sage and Old Paper for all of the greenery. I glued each set together then laid them out the way I wanted them and then grabbed my trusty Press n Seal and plastered it down on top of the bouquet to sort of hold it all together and set that aside.

For the background I again used watercolor paper.  I took it to my Splat box and gave it a few light sprays with Speckled Egg Distress Spray Stain and then doused it with water, again, trying to keep it light.  I dried the paper and then trimmed it down to 3 3/4 x 5.  I stamped the gears from Observations CMS434 in Antique Linen Distress Oxide and stamped the dragonfly from a Stamper's Anonymous stamp set called Classics 1 SCF001 in Speckled Egg Distress Oxide. Finally I stamped some words from Gothic Tapestry CMS454 in Spun Sugar across the top and set that aside to do the frame.

For the frame I once again used watercolor paper. I guess you can tell that watercolor is my favorite substrate. I ran it through the embossing folder Engraved 664249 and then trimmed that down to a little under 5 1/2 by a little under 4 1/4. I attached my flowers with a lot of glue and then I stitched the background panel down to the embossed panel and then used a little Sizzix Gold Luster Wax. I absolutely love that stuff and it smells so good! Last, I spattered with a little gold paint to pull it all together.

I popped the unit up on some fun foam and then onto a white 5 1/2 x 4 1/4 card base.  I die cut the word Love from heavy white cardstock 3 times and stacked them then attached them to the card and it was done!

As I write this it is Monday Morning and I can see from close inspection of the rules that it should have been linked over an hour ago so I am too late for this week. No worries, it will still be here next Monday!